Brown Porter Recipe That Delivers Rich Chocolate and Toasted Bread Flavors
This article may contain affiliate links. If you make a purchase through these links, we may earn a small commission at no extra cost to you. This helps us keep creating free content.
Why Brown Porter Deserves More Respect
Brown porter has a visibility problem. It sits in the shadow of flashier stouts and bigger imperial porters, quietly being one of the most drinkable, balanced, and satisfying dark beers you can brew. It is not trying to blow your palate apart with roast or bitterness. It is the beer that makes you say "that is really, really good" and then reach for another glass without thinking about it.
This recipe targets a moderate strength, around 1.052 OG, finishing near 1.014, which puts you in the 4.8–5.2% ABV range. Use our ABV calculator to confirm your exact numbers after measuring your gravity readings. The style is approachable, sessionable by dark beer standards, and absolutely perfect for cooler weather.
OG: 1.040–1.052 | FG: 1.008–1.014 | IBU: 18–35 | SRM: 20–35 | ABV: 4.0–5.4%
Think chocolate, toffee, toasted bread, with restrained bitterness and smooth drinkability.
The Grain Bill: Five Malts, Zero Filler
Caramel Crystal Malt 60L, 1 lb Crushed
Crushed and ready to steep, the mid-range crystal for amber and brown ales.
As an Amazon Associate we earn from qualifying purchases.
Every grain in this bill has a job. Nothing is there for show. For a 5-gallon all-grain batch:
- Maris Otter, 8 lbs (biscuity base malt, the foundation of everything)
- Chocolate Malt, 12 oz (the primary color and chocolate flavor contributor)
- Crystal 60L, 8 oz (caramel sweetness and body)
- Brown Malt, 8 oz (toasted bread, biscuit, the historical heart of porter)
- Black Patent Malt, 2 oz (color adjustment and a whisper of roast, do not overdo it)
The brown malt is the secret ingredient that most modern porter recipes skip. Historically, brown malt was the backbone of every porter brewed in London. It adds a toasty, slightly nutty character that chocolate malt alone cannot provide. If your homebrew shop does not carry it, Crisp Brown Malt and Fawcett Brown Malt are both excellent options you can order online.
Mash and Boil
Single infusion mash at 153°F (67°C) for 60 minutes. This lands you in the sweet spot between fermentability and body, you want enough residual sweetness to support the malt character but not so much that the beer feels heavy. Porter should be smooth, not syrupy.
A standard 60-minute boil works perfectly fine for this recipe. No need for the extended boil that bigger styles sometimes call for.

Hop Schedule
Porter is a malt-forward style, but it still needs enough hop bitterness to keep things balanced. Target around 28 IBU, check your numbers with our hop bitterness calculator since alpha acid percentages vary by lot.
- East Kent Goldings, 1 oz at 60 minutes (clean, earthy bittering)
- Fuggle, 0.5 oz at 15 minutes (mild earthy-floral flavor addition)
English hops for an English style. You could substitute Willamette for Fuggle or Styrian Goldings for EKG if that is what you have on hand. Just avoid anything citrusy or piney, those hop characters clash with the malt profile you are building.
Twelve ounces of chocolate malt might seem like a lot compared to some recipes that use only 4–6 ounces. The difference is significant. At 12 ounces, you get genuine cocoa-like character that is unmistakable. At 4 ounces, you mostly just get color. If you want a porter that actually tastes like chocolate and toast, do not be timid with the chocolate malt.
Yeast and Fermentation
English ale yeast is the right call here. Options that work beautifully:
- Wyeast 1968 (London ESB), Slightly fruity, great flocculation, leaves behind some residual sweetness that flatters porter
- White Labs WLP002 (English Ale), Similar profile to 1968, with excellent clarity
- Safale S-04, Reliable dry yeast alternative. Clean, slightly sweet, drops bright
Ferment at 64–67°F (18–19°C). English yeasts produce pleasant esters at these temperatures, subtle stone fruit notes that complement the malt rather than competing with it. Go much warmer and those esters start tasting like solvent. Go cooler and the yeast gets sluggish and may stall.
Primary fermentation should be done in 7–10 days. Give it another week to clean up, then package. Unlike bigger beers, porter does not require extended conditioning. It drinks well after 2–3 weeks in the bottle or keg. That said, it continues to improve for months. The chocolate and toffee notes smooth out and merge together in a way that is really satisfying.
Carbonation and Serving
Medium carbonation works best, around 2.0–2.3 volumes of CO2. For bottling, use approximately 3.5 oz of corn sugar for 5 gallons. If kegging, 10–12 PSI at 38°F for about a week will get you there.
Serve at 50–55°F (10–13°C). Slightly warmer than fridge temperature opens up all those malt flavors you worked to build. Ice cold porter tastes flat and muted. Give it 10 minutes out of the fridge before pouring if you are bottling.
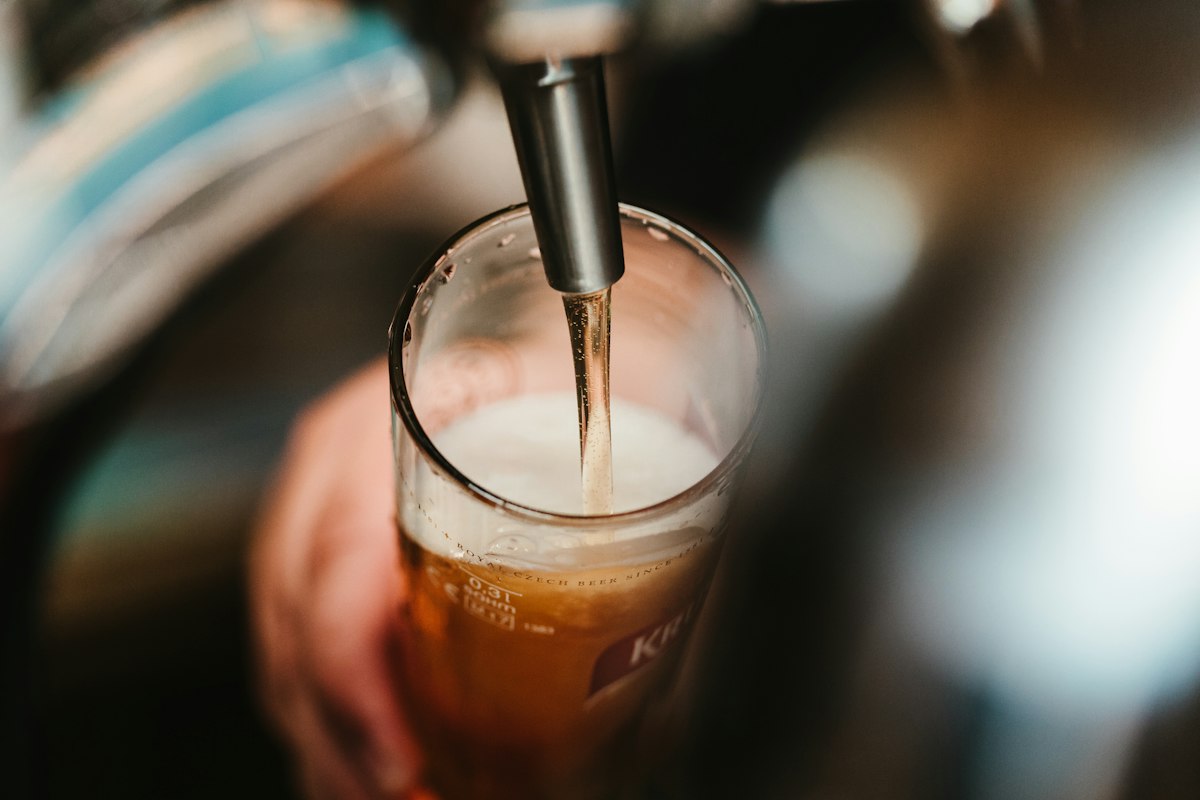
If you have a nitro setup (or are thinking about building one), brown porter on nitrogen is absolutely outstanding. The creamy, cascading pour transforms the mouthfeel into something almost velvety. It is one of the best styles to serve on nitro at home.
Troubleshooting
- Too roasty or acrid: Reduce black patent malt to 1 oz or eliminate it. Chocolate malt alone provides plenty of color for the style range.
- Thin body: Raise mash temp to 155°F on your next batch, or add 4 oz of flaked oats for silky mouthfeel
- Bland or one-dimensional: Make sure you are using brown malt. It adds a dimension that chocolate malt alone does not cover. Also consider whether your water has enough calcium, soft water can produce flat-tasting dark beers.
- Too bitter: Check your IBU calculation. Porter should lean toward malt-sweet balance, not bitterness. Pull back to 1 oz total hops at 60 if needed.
One More Thing
Brown malt is the ingredient to protect in this recipe. Substitute Victory malt for it and the beer is still fine, drinkable, balanced, nothing wrong with it, but the toasty depth that defines the style is gone. Put the brown malt back in and the difference is immediately obvious. Sometimes the old-school ingredient really is the right one.
⚠️Disclaimer: This article is for informational purposes only. Fermenting and brewing require strict food hygiene — including correct fermentation times, temperatures, and cleanliness. Home-brewed beverages may contain alcohol. When in doubt, consult a food safety expert.
Published by the Home Brew Press editorial team. Published July 14, 2026. Updated October 4, 2026.
Editorial responsibility: see Imprint.
Spotted an error or have something to add? corrections@homebrewpress.com
Brew Better Every Batch
Recipes, gear tips, and brewing science — delivered fresh every Thursday.
🎁 Free bonus: First Batch Brewing Guide (PDF)
You might also like

Stout vs Porter: Recipes and Brewing Differences

Mash Efficiency Explained: How to Get More Sugar From Your Grain
Low mash efficiency means weak beer and wasted grain. Here is a practical breakdown of what efficiency actually measures, why yours might be low, and actionable steps to improve it without overcomplicating your brew day.
Decoction Mashing at Home: Is the Extra Effort Actually Worth It?
You have heard old-school brewers swear by decoction mashing. You have also heard modern brewers call it a waste of time. Here is what actually happens when you pull a decoction — and whether your beer will notice.