Kegging Your First Homebrew: A Straightforward Guide to Ditching Bottles
This article may contain affiliate links. If you make a purchase through these links, we may earn a small commission at no extra cost to you. This helps us keep creating free content.
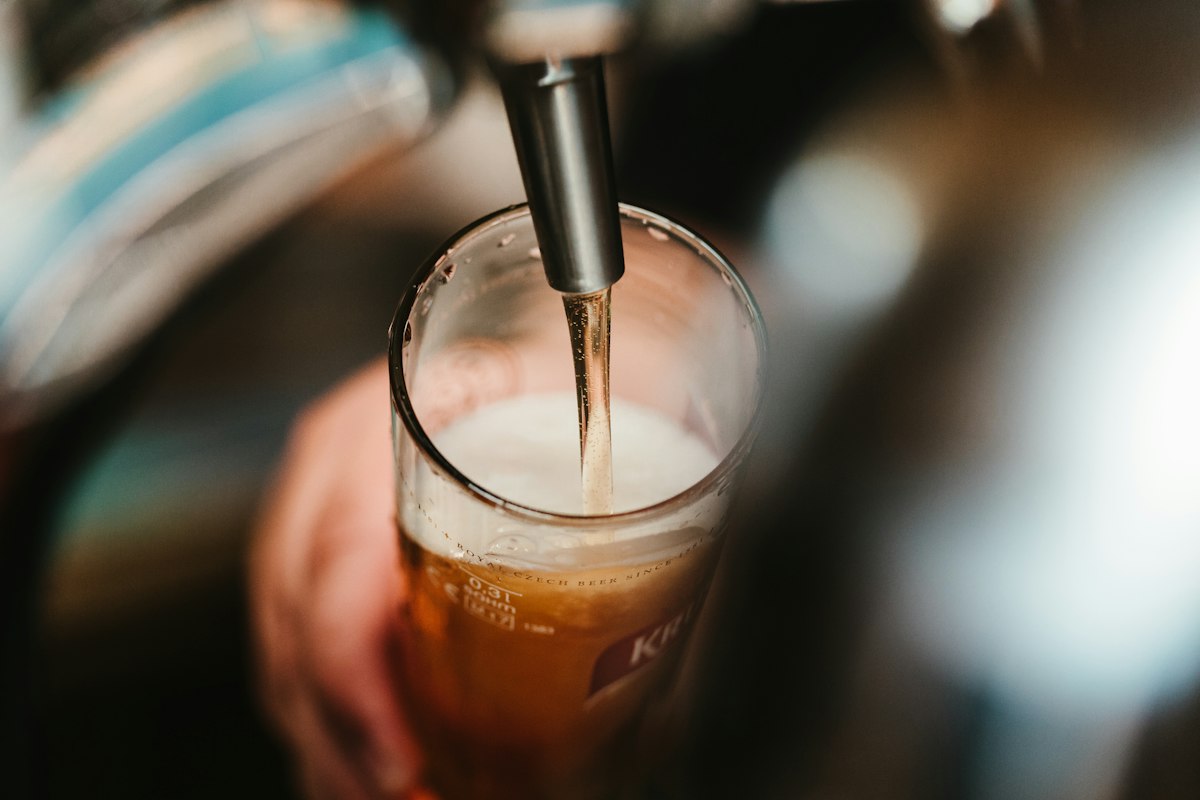
Bottling homebrew wears thin after about seven batches. The sanitizing is manageable. The capping is actually kind of satisfying. It is the waiting: two weeks of bottle conditioning, staring at 48 bottles on a shelf, wondering if this will be the batch where half come out flat and the other half are gushers.
Kegging changed everything. Pour a beer two days after packaging. Adjust carbonation on the fly. Clean one keg instead of 50 bottles. I don't know why I waited so long, and I'm here to make sure you don't make the same mistake.
What You Actually Need
The kegging world has a lot of optional upgrades, but the core system is surprisingly simple. You need four things: a corny keg, a CO2 tank, a regulator, and tubing with disconnects.

Corny kegs come in two flavors, ball lock and pin lock. Ball lock is more common in the homebrew world and easier to find parts for. Pin lock kegs are often cheaper because they're Coca-Cola surplus. Either works. Pick one system and stick with it so your disconnects are interchangeable.
For your CO2 tank, a 5-pound cylinder is the sweet spot for most homebrewers. It'll carbonate and serve roughly 8 to 10 five-gallon kegs before it needs a refill. A 5-lb tank typically costs $60-80 new, and refills run about $20 at a welding supply shop or homebrew store.
The regulator controls how much pressure you're pushing from the tank to the keg. A single-body regulator with a gauge is all you need to start. Dual-gauge regulators (one for tank pressure, one for output pressure) are nicer because they tell you how full your CO2 tank is, but single gauge works fine.

The Total Damage
Northern Brewer Brew. Share. Enjoy. 5-Gallon Starter Kit (Hank's Hefeweizen)
5-gallon starter kit with bucket fermenter, kettle, ingredients, and recipe, the canonical 'first brew day in a box'.
See on Amazon →Let's talk money, because I know that's the real question. Here's a rough breakdown: used corny keg ($30-50), new 5-lb CO2 tank ($65-80), regulator ($40-60), gas and liquid disconnects ($10-15), beverage tubing and picnic tap ($10-15). That's your starter kit.
Yes, it's more upfront than a $30 bottle capper. But you'll recoup the bottle cap and conditioning sugar costs over time, and more importantly, you'll recoup your sanity.
Setting Up: The First Time
When your keg arrives, especially a used one, disassemble it completely. Pull the lid, remove both posts (gas in, liquid out), and take out the dip tubes. Soak everything in PBW or Oxiclean for an hour, then scrub the inside of the keg with a soft cloth. Replace all the O-rings. A full O-ring kit costs about $3 and eliminates 90% of potential leak issues.

Reassemble, fill the keg with sanitizer solution, push it out with CO2 to sanitize your lines, and you're ready to receive beer.
Force Carbonation: Two Methods
The patient method: set your regulator to 12 PSI at 38°F and wait 7-10 days. The CO2 slowly dissolves into the cold beer and you get smooth, even carbonation. This is what I recommend for beginners because it's foolproof.
The fast method: crank the regulator to 30 PSI, lay the keg on its side, and rock it back and forth for 3-5 minutes. Then drop the pressure back to serving pressure (10-12 PSI) and let it settle for 24 hours. This gets you drinkable beer in a day, but it's easy to over-carbonate if you're aggressive with the rocking, so err on the gentle side.
- Transfer beer to sanitized keg, seal the lid
- Connect the gas disconnect and purge headspace by pulling the pressure relief valve 3-4 times at 10 PSI
- Set regulator to serving pressure (10-12 PSI) and refrigerate
- Wait 7-10 days for natural carbonation, or use the burst method above
- Connect liquid disconnect and picnic tap, pour your first draft

Serving Pressure and Line Length
Foamy pours are the number one complaint from new keggers, and 99% of the time it's a line length issue. Your beverage line creates resistance that balances against the CO2 pressure pushing the beer out. Too short a line means beer blasts out as foam.
For a standard 5-foot height difference between keg and tap with 3/16" ID tubing, you want about 6-8 feet of beverage line. Start with 8 feet. You can always cut it shorter, but you can't make it longer. Serve at 10-12 PSI and 38°F, and you should get a smooth pour with a reasonable head.
Common First-Timer Mistakes
Not replacing O-rings on used kegs. They're cheap. Just do it. Forgetting to purge the keg headspace with CO2 before sealing, oxidation will stale your beer faster than anything. Serving too warm, which increases foaming. And my personal favorite: forgetting to check that the CO2 tank valve is actually open and wondering why nothing is happening. I've done this more times than I care to admit.
Kegging isn't complicated. It's just different. After two or three batches, the process becomes second nature, and you'll wonder how you ever had the patience to bottle. Your future self, the one sitting on the couch pouring a perfect draft from the kegerator, will thank you.
⚠️Disclaimer: This article is for informational purposes only. Fermenting and brewing require strict food hygiene — including correct fermentation times, temperatures, and cleanliness. Home-brewed beverages may contain alcohol. When in doubt, consult a food safety expert.
Published by the Home Brew Press editorial team. Published September 25, 2026.
Editorial responsibility: see Imprint.
Spotted an error or have something to add? corrections@homebrewpress.com
Brew Better Every Batch
Recipes, gear tips, and brewing science — delivered fresh every Thursday.
🎁 Free bonus: First Batch Brewing Guide (PDF)